[ad_1]
Mud. It will get all over the place, amirite? And do not even get us began on pet hair. If you happen to’re an proprietor of any sort of hi-fi audio system or residence theater setup, then you definately’re possible battling the buildup of each of those nuisances in your treasured audio system. Over time, particulates can get caught to your speaker’s cupboards and grilles, and particles can get lodged up inside your speaker’s parts, tweeters, and woofers, doubtlessly affecting their sound.
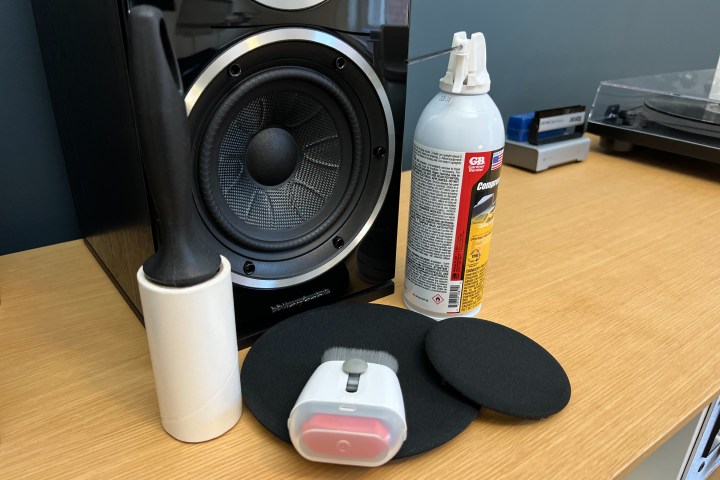
Whether or not it is a set of tower audio system, bookshelves (like within the pics under), and even sure Bluetooth audio system, giving your audio system a clear each occasionally is an effective way to make sure they give the impression of being and sound nice for years to return, and it is comparatively straightforward with a number of frequent instruments you could have already got available. This is how one can clear your audio system.
Derek Malcolm/Digital Traits
Clear your speaker cupboards
Whereas all that audio magic occurs inside your speaker’s cupboards, it is their exterior magnificence that makes a fantastic pair of audio system look superior in your setup.
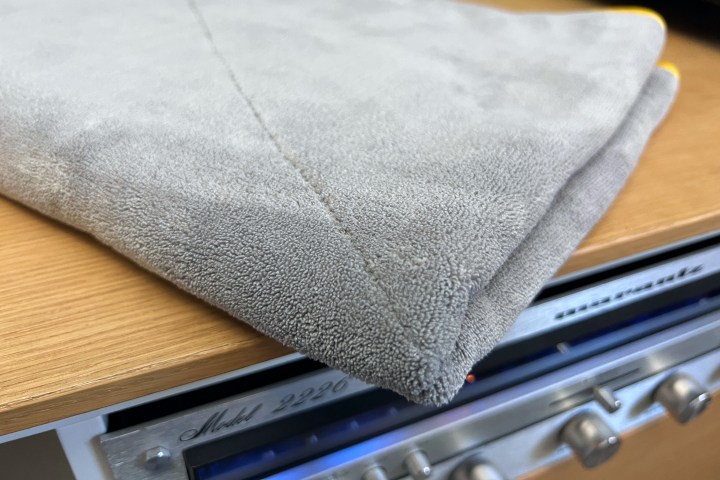
With common upkeep, you should not want something greater than a moist microfiber fabric and even some clear cotton rags to mud off your speaker’s cupboards. Whether or not they’re product of wooden or an MDF composite, that is your most secure wager. This is how one can safely get them trying their finest
Step 1: First, you will want two lint-free microfiber cloths. Take the primary one and moisten it with some lukewarm water. Make sure that to ring it out so it is simply barely damp, not soaking. For wooden cupboards, when you’ve got a secure wooden cleaner or pre-dampened cleansing wipes, you may add it to the material (make sure to examine with the producer’s advice on what’s secure first).
Derek Malcolm/Digital Traits
Step 2: Work your method across the speaker, wiping in the identical route of the wooden grain, whether it is wooden.
Step 3: Now seize the second, dry microfiber fabric and go over the speaker cupboard once more to choose up any residual moisture. The microfiber fabric will even appeal to any unfastened lint, too.
Clear your speaker grilles
Some hi-fi nerds suppose that preserving the grilles — these mushy material or hard-shell covers that mount on the entrance of your speaker cupboards — protecting up these sweet-looking drivers beneath is sacrilege. Positive, they’ll look boring, however many add an air of sophistication to a pair of audio system whereas additionally defending the woofers and tweeters beneath. However speaker grilles also can appeal to mud, particles, and pet hair, so it is good to maintain them clear. This is how one can do it with out damaging them.
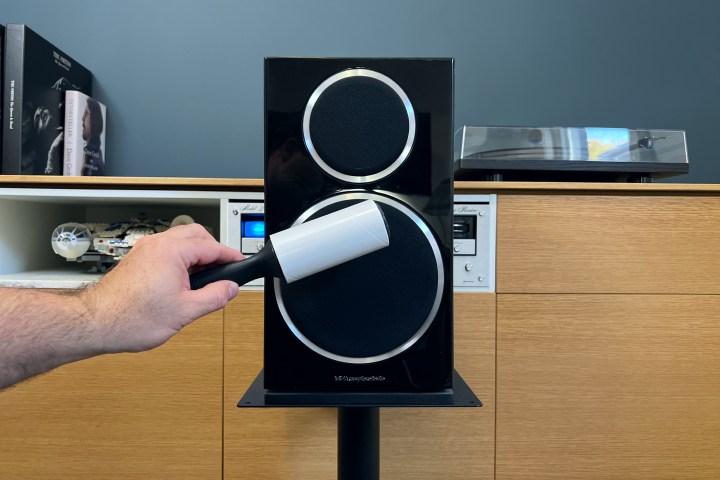
Step 1: In case your speaker grilles are of the material selection and there is just a few mild mud or pet hair on them, you may gently roll a sticky lint brush over them a couple of times. Be certain do that with a clear layer on the curler (not after you’ve got simply rolled your sweater).
Derek Malcolm/Digital Traits
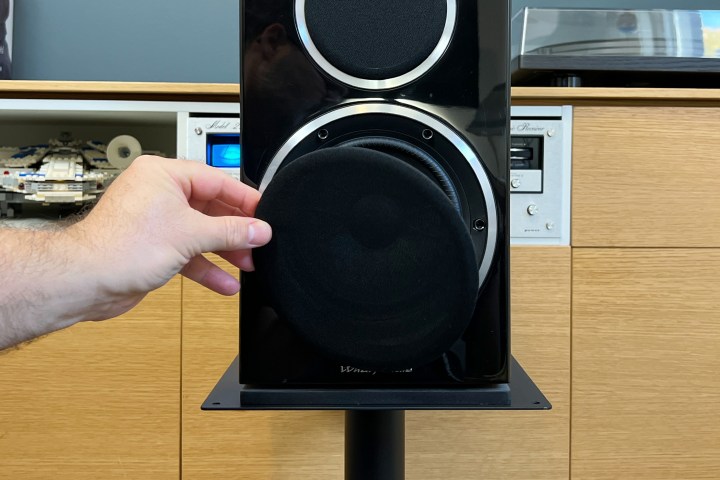
Step 2: For a bit extra thorough of a cleansing, we advocate eradicating the grilles from the cupboards first. Many grilles are hooked up in numerous methods, so should you’re uncertain how one can get them off, seek the advice of your speaker’s handbook. For essentially the most half, although, they will be hooked up by rubber prongs into holes on the corners of the cupboard face. Evenly pull the grilles from the highest and backside of the cupboard’s fasteners. If there are screws fastening them, take away them and get the grilles off.
Step 3: With the grilles off, lay them down flat on a clear floor. Utilizing a vacuum with a mushy, clear brush attachment, gently run the vacuum over the floor of the grill cowl, being cautious that the suction is not pulling too exhausting on the material.
Step 4: It’s also possible to go over them together with your damp microfiber fabric. However to take away extra cussed grime or stains, seize your fabric, and with some heat water and gentle detergent, gently work over the grille in a round movement. With one other clear fabric barely moist with some clear water, rinse the handled space and let it air dry.
Step 5: Steel or plastic grilles may be extra simply washed with water and detergent and set to air dry or patted down with a clear fabric.
Derek Malcolm/Digital Traits
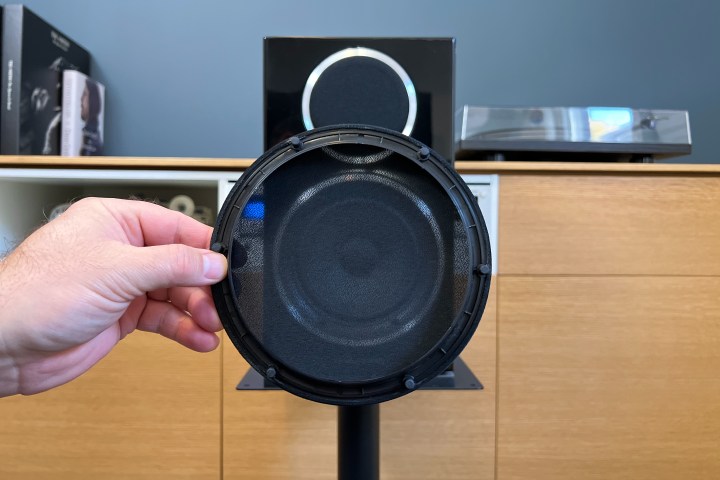
Clear your speaker woofers
Speaker woofers, or cones, are the bigger drivers in a speaker cupboard, accountable for all that stunning low-end and mid-frequency sound and quantity. They are often product of a wide range of supplies, together with wooden, silicone, polymer, kevlar, and paper. Some are extra delicate than others and may be simply punctured should you’re not cautious, however many are sturdier than you suppose.
Step 1: For extra delicate woofers/cones, like paper ones, it is best to not use something moist or damp; quite, strive utilizing a soft-bristled brush (like a paintbrush or make-up brush) to mud off any mud or particles. It’s also possible to use a can of compressed air for electronics to blow out any particles.

Derek Malcolm/Derek Malcolm
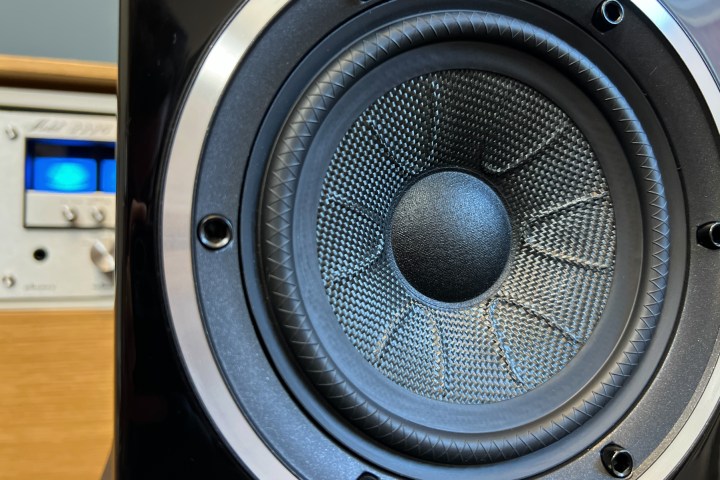
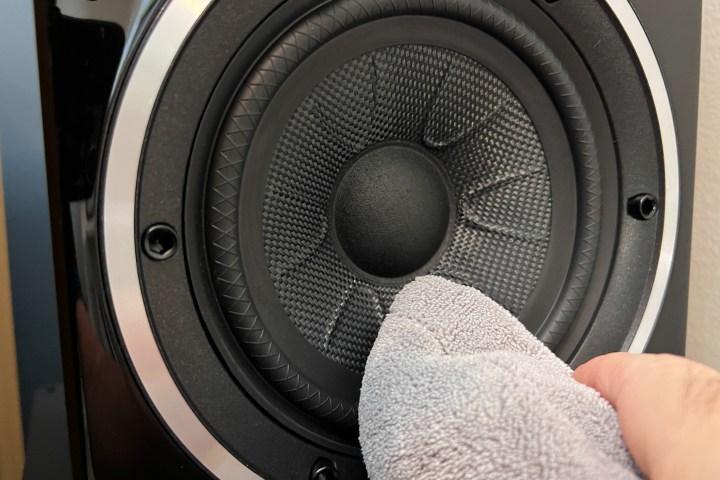
Step 2: For cones product of extra resilient supplies, like wooden or polymers, you may first brush them off or give them some air, too. However then be happy to seize your trusty damp microfiber fabric and provides them a mild wipe as nicely. Nonetheless, watch out to not contact the dome middle portion, as this may collapse.
Step 3: Give the cone one other wipe-down with the dry microfiber fabric.
Derek Malcolm/Digital Traits
Step 4: Lastly, you too can wipe down the encompassing mushy rubber or foam ring across the woofer with a secure rubber care product.
Derek Malcolm/Digital Traits
Clear your tweeters
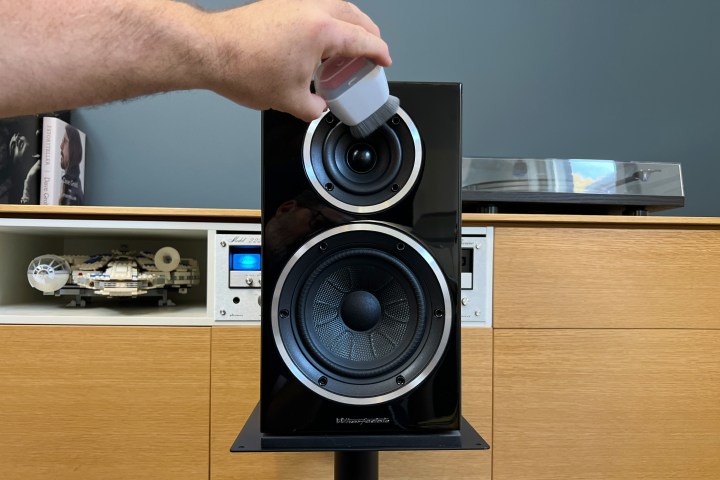
That is the tough half. Woofers and mid-drivers are normally fairly rugged, however tweeters — the tiny driver normally on the prime of the cupboard that handles all of the treble and excessive frequencies — are one other story. Made from delicate cones and domes, membranes, coils, and different delicate components, you typically do not need to contact or wipe them in any respect. As an alternative, air is your finest pal.
Seize that may of electronics compressed air once more and, being certain to carry it a minimum of a number of inches from the tweeter, give it a number of fast blasts. If you happen to’re cautious, you too can give them a lightweight wipe with a soft-bristled brush, maybe a type of photographers’ blower brushes from a digital camera cleansing equipment.

Derek Malcolm/Digital Traits
Take into account that this submit applies to fairly fundamental cleansing of most audio system. In fact, use discretion if there is a specific dirty or cussed stain or buildup, and also you would possibly need to seek the advice of knowledgeable. The very last thing you need to do is harm a pair of high-priced audio system. It might appear daunting, however preserving your treasured audio system clear and dust-free will guarantee they sound their finest, and also you solely need to do it a few instances a yr.
Editors’ Suggestions
[ad_2]
Source link
