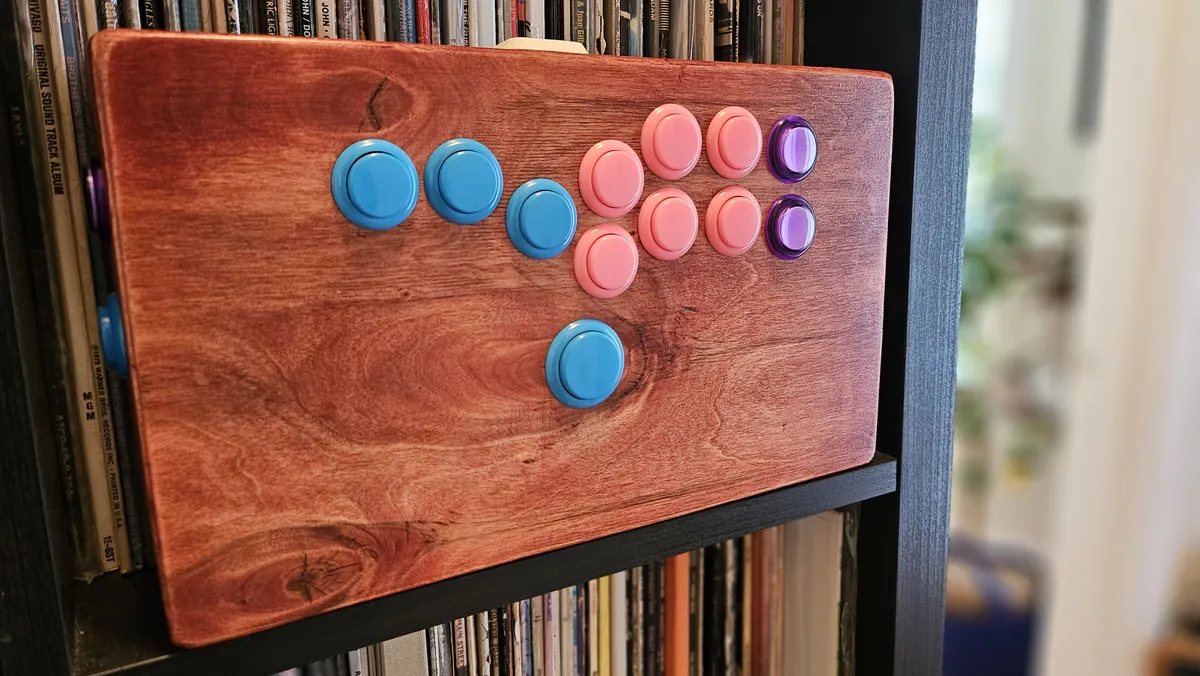
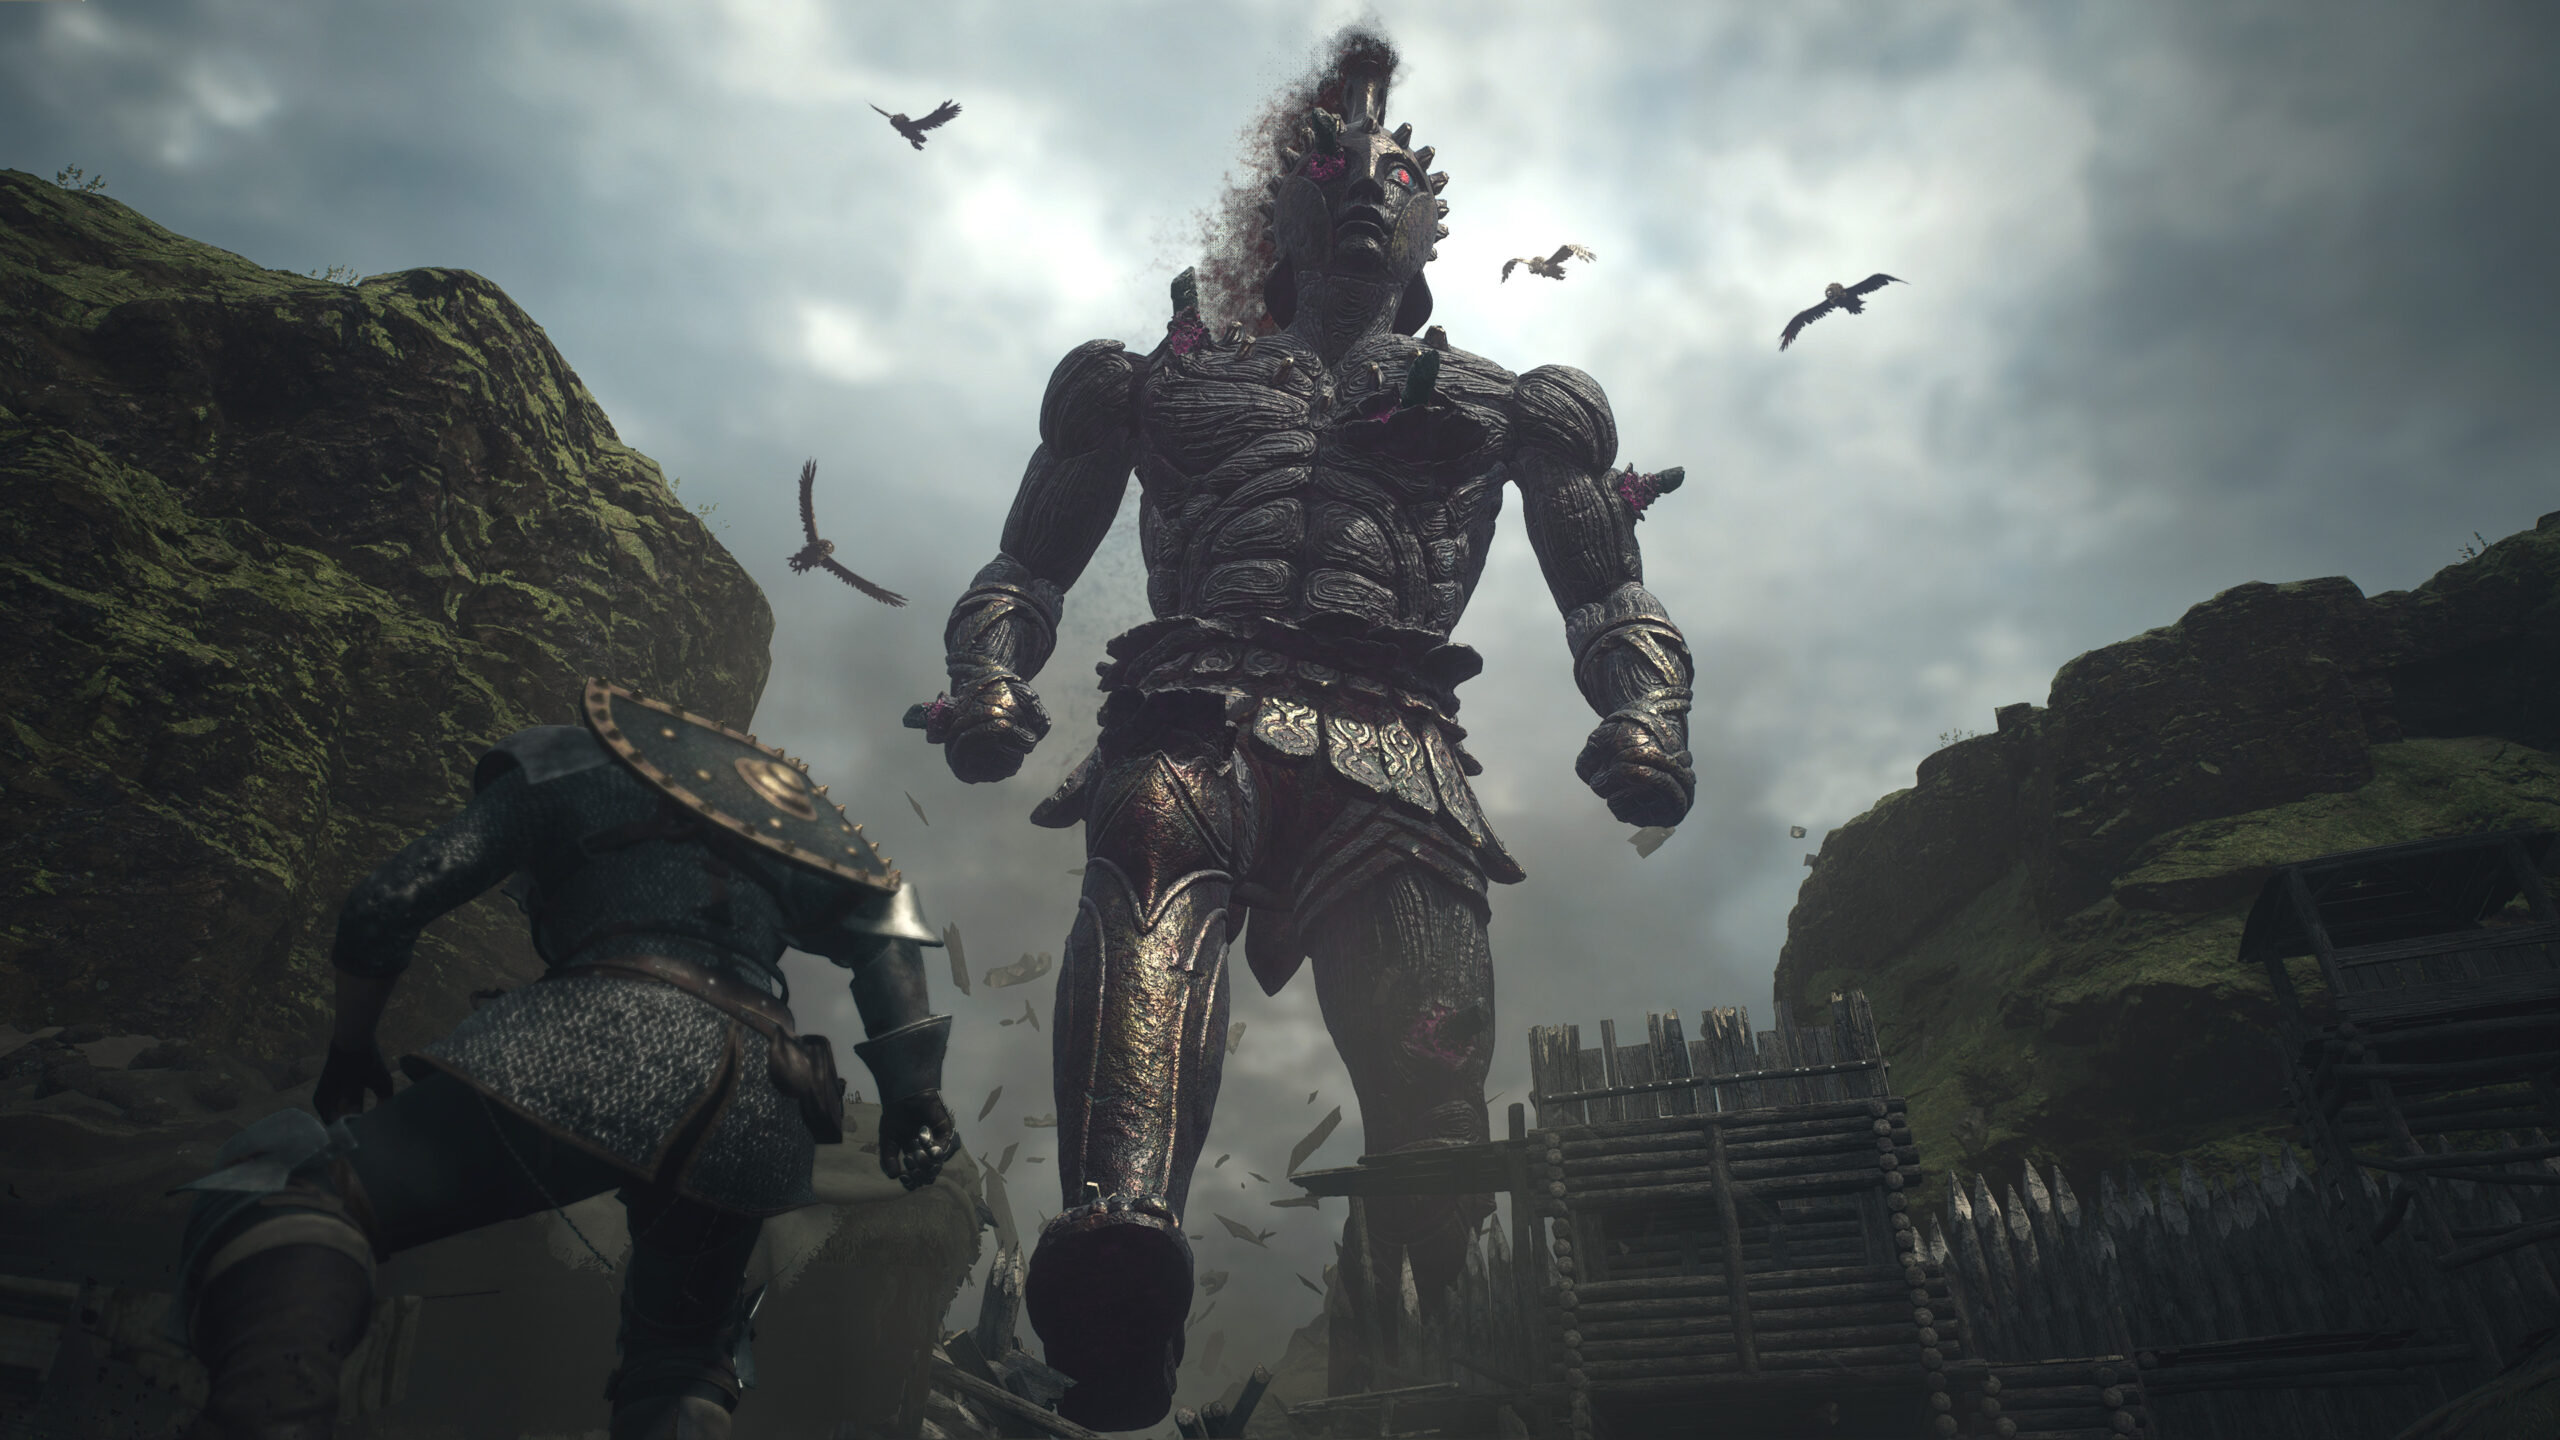
See that stunning battle stick? It is not only a controller: it is a image. A logo of me operating out of excuses to git gud (or a minimum of crawl my approach out of scrubhood) in Avenue Fighter 6. Earlier this yr I used to be so excited for the brand new Avenue Fighter that I made a decision to construct my very own Hit Field, AKA an all-button arcade field with out an precise “stick.” As with most preventing video games I am enthusiastic about, earlier than launch I vowed that this could be the one I dedicated to placing actual time into. I am the primary and solely preventing recreation novice to ever inform himself this lie.
When Avenue Fighter 6 landed in June, I solely had the mission half-finished, so I figured I would wait on diving in for a month or two, simply till I may end issues up. Contemplating I lastly attached all of the wires and screwed the field collectively on December 19, it is protected to say issues did not go precisely as deliberate. However 2024? 2024 would be the yr I positively pour some actual time into Avenue Fighter.
Constructing the controller was numerous enjoyable all by itself, although, and a course of I would suggest to any preventing recreation fan who occurs to have numerous woodworking gear useful (or, like me, a pal with that gear). Regardless of watching some YouTube movies and studying about other people’ builds on-line, I nonetheless made a couple of small errors and got here away with suggestions for different first-time builders. This is the way it got here collectively.
The planning steps
Picture 1 of 2

I made a decision I wished to make a picket battle stick, and that I wished it to be comparatively small in order that storing it wasn’t an enormous ache. I purchased some sturdy half-inch plywood from a neighborhood store, and whereas on a trip journey to Tokyo got down to discover an arcade elements retailer to purchase buttons. I figured they’d be a bit cheaper in Japan than on-line, although I ended up erasing any financial savings I would received for myself by panicking in regards to the shade mixture and shopping for extra buttons than I wanted.
For my major buttons I went with Sanwa’s OBSN 24mm, which I would examine to Cherry MX Reds. They’re quick, mild contact buttons that you will discover throughout arcades and in lots of, many battle sticks. For a contact of shade and textural selection I additionally picked a couple of Seimitsu PS-14s, which require only a tad extra strain to activate, to function the triple punch / kick buttons.
That left the stick’s controller board and wiring.
Whereas I will largely be taking part in on PC, I additionally wished the stick with work on consoles. There is a finances choice within the $25 Brook Zero-Pi, however I requested Brook to ship me its $80 Common Combating Board in addition to a small add-on board for PS5 help. For anybody constructing a battle stick going ahead, although, I would suggest the brand new UFB Fusion, which integrates the PS5 add-on; it is the plug-it-into-anything-and-it’ll-just-work board to decide on now. For those who’re constructing a leverless controller like me, you may additionally need the preventing board cable and hitbox cable, which make the wiring course of actually, very easy. Brook presents bundles for getting the cables collectively and/or with the UFB that knocks fairly a bit off the worth.
The subsequent steps of planning my construct at this level revealed many complexities I hadn’t actually thought of.
- Even good high quality plywood is not going to have completely squared edges, which makes good measurements powerful. This may be pretty simply solved, however solely you probably have the fitting woodworking gear.
- The saws you’ve got entry to will dictate the way you go about constructing your controller. As a result of we did not have a desk noticed or skilsaw (or a laser cutter, which might be even higher), we determined it was going to be tough to construct a box-style controller like on this YouTube video. As a substitute we went for a “sandwich” strategy, chopping the plywood into a number of items and layering it to create the thickness wanted to suit all the inner elements. This may allow us to take care of the not-square edges later with an orbital sander.

- When discovering a button template on-line, be sure that the spacing will work for screw buttons (higher for thicker bins) slightly than push buttons (constructed for skinny steel/acrylic panels). I used this template that was modified to suit screw buttons, and so they simply barely match, so I actually wanted one other couple millimeters of spacing in between. If I would used one in all these official templates, it probably would not have match my buttons.
- Except you have already got a completely stocked woodworking store, prices are positively going so as to add up—I spent practically $30 simply on the 24mm and 30mm Forstner bits used to drill the button holes, about that a lot on the wooden, and extra in a while brushes, stain, and polyurethane for the ending steps.
Drilling button holes and check becoming
Picture 1 of 3
Ideally, you’d use a drill press to shortly and cleanly make the button holes utilizing the round Forstner bits, however a handheld drill truly did the job completely nice right here. One vital tip: use the purpose of the drill bit to make a small indentation within the wooden at your heart level to anchor it as you drill, guaranteeing it would not go skittering throughout the floor.
The good thing about this half-inch piece of plywood is that it is extraordinarily sturdy and would not bend in any respect, but it surely comes with a draw back: it is too thick for the screw buttons. That meant that on the again facet of the highest panel I had to make use of the 30mm bit to drill all the best way round every gap, greater than doubling the quantity of labor for this step of the method.
At this level we did a check becoming, and all the pieces match! However later, once I stained the wooden and needed to tighten all of the buttons to make sure they did not wiggle, it was an especially tight squeeze.
Assembling the layers, gluing, and chopping
Picture 1 of 5
With the button holes finished, we drew a tough diagram on the highest panel to determine how the PCB would match and the place the facet buttons (for Begin, Choose and so forth.) would match, in addition to the place the opening for the USB plug would go. This helped us decide how thick we may make the edges and the way a lot further wooden to depart within the corners to offer screws for the underside panel loads of safety. With all that sketched out, we lined up a number of extra items of the plywood and glued them collectively to function the physique of the controller.
Our course of right here was dictated by the form of noticed we had available—on this case we used an oscillating multi-tool to chop by way of the stacked wooden vertically. We used a chunk of tape on the blade to mark the depth we would be chopping to, however utilizing some low cost particle board as a backstop made it fairly simple to inform once we’d damaged by way of the tougher wooden.
The chopping course of was surprisingly painless, and as soon as the inside block was gone we may use the Forstner bits once more to drill the facet button holes after which glue the highest panel in place.
Sanding, sanding and extra sanding
Picture 1 of 2
We now have a field! The controller just about seems to be the half at this level, however refining is a prolonged course of. At this level I had to make use of the orbital sander to scrub off that overhanging lip on the highest panel and start sanding down the edges, too, which is trickier than it sounds. Some sides would slope in the direction of the highest or backside and/or left or proper; others would bulge or dip barely someplace in between. Wooden seems to be fairly straight till you scrutinize it from all angles after which it actually doesn’t look straight in any respect.
After an preliminary hour or two of energy sanding to get the edges roughly sq., I additionally did a ton of sanding by hand to spherical off all the sides, making them rather more nice for wrists to relaxation towards. As you possibly can see within the completed picture, there is a fairly clear inward slope on the fitting facet—I did my greatest to imitate it on the left, and until you are actually squinting on the ultimate product it seems to be even. It is positively not an ideal rectangle, however I am okay with that: it feels extra handmade and would not compromise on the usability of the stick in any respect.
Staining and polyurethane
Picture 1 of 2
I wished a wealthy reddish brown, so I utilized three coats of pink chestnut wooden stain. I cherished the way it seemed when moist, however naturally when it dried the colour was a lot much less vibrant. A number of coats helped, although, as did the ultimate step: making use of a transparent semi-gloss polyurethhane. I did an especially nice grit sanding in between to make sure no particles or bits of stain roughed up the end. The poly actually helps deliver out the vibrancy of the wooden in good lighting.
Remaining steps: Wiring all of it up
Picture 1 of 4
Securing all of the buttons proved to be tougher than I anticipated—throughout my check match I hadn’t grappled with getting the screws firmly lodged in place towards the wooden. I needed to chip away some further room with a screwdriver and use needle nostril pliers in a couple of circumstances the place my fingers have been too huge to get a grip. I additionally wanted the pliers for the left facet buttons the place we would saved the wooden fairly thick—there was no approach my fingers have been becoming in there!
Wiring was fortunately a straightforward step: I simply adopted a information for the 20-pin harness exhibiting which coloured cable corresponded to every button. Brook additionally provides a information for its hitbox cable. Because the cables are preconfigured with feminine connectors, they simply slide onto the buttons and the job’s finished. The one “handbook” wiring I needed to do was for the PS5 add-in board, which required two wires be connected to the fitting terminals on the Common Combating Board and screwed in. With a small Philips screwdriver, that took all of a minute.
I additionally wanted to connect the Neutrik USB feed-through with a pair small screws, so I drilled tiny pilot holes first after which secured it by hand. Since I would already splurged on this mission I purchased each Kind-C and Kind-A cables to be prepared for any state of affairs.
The ultimate step was securing the board in place. I had some heavy responsibility adhesive velcro leftover from one other mission, so I connected that to the underside of the UFB after which caught it to the highest panel. I determine this fashion it will keep in place however nonetheless be pretty simple to take away and reuse if I ever need to swap it out or transfer it to a different stick.
A couple of extra suggestions and classes realized for constructing your individual hitbox
After placing this factor collectively, listed here are a couple of takeaways:
- This information on FocusAttack is a superb start line for figuring out what elements you want, and what elements you may need (deciding between button varieties, for instance)
- Getting a wonderfully straight edge is an actual problem with out the fitting instruments, so for those who’re an novice builder like me, having a extra skilled pal is invaluable (thanks, John!)
- There is a motive most battle sticks are typically bigger than the one I’ve constructed. A deeper field offers you a bit extra space to relaxation your wrists, and a wider one sits extra stably on the lap. I do not remorse constructing a extra compact field, but when I had it to do over I would in all probability go a bit larger.
- For those who’re on the fence about constructing your individual, there’s positively a extra reasonably priced customized choice: an acrylic enclosure from Everlasting Rival. These nonetheless require you to provide your individual buttons and PCB, however provide you with a case to construct in, no sanding required. You too can get customized high panel paintings finished for these, which is numerous enjoyable—check out the r/fightsticks subreddit for inspiration from some unimaginable designs.
- It is at all times going to be actually laborious to not name this a “battle stick” each single time though there is no stick


