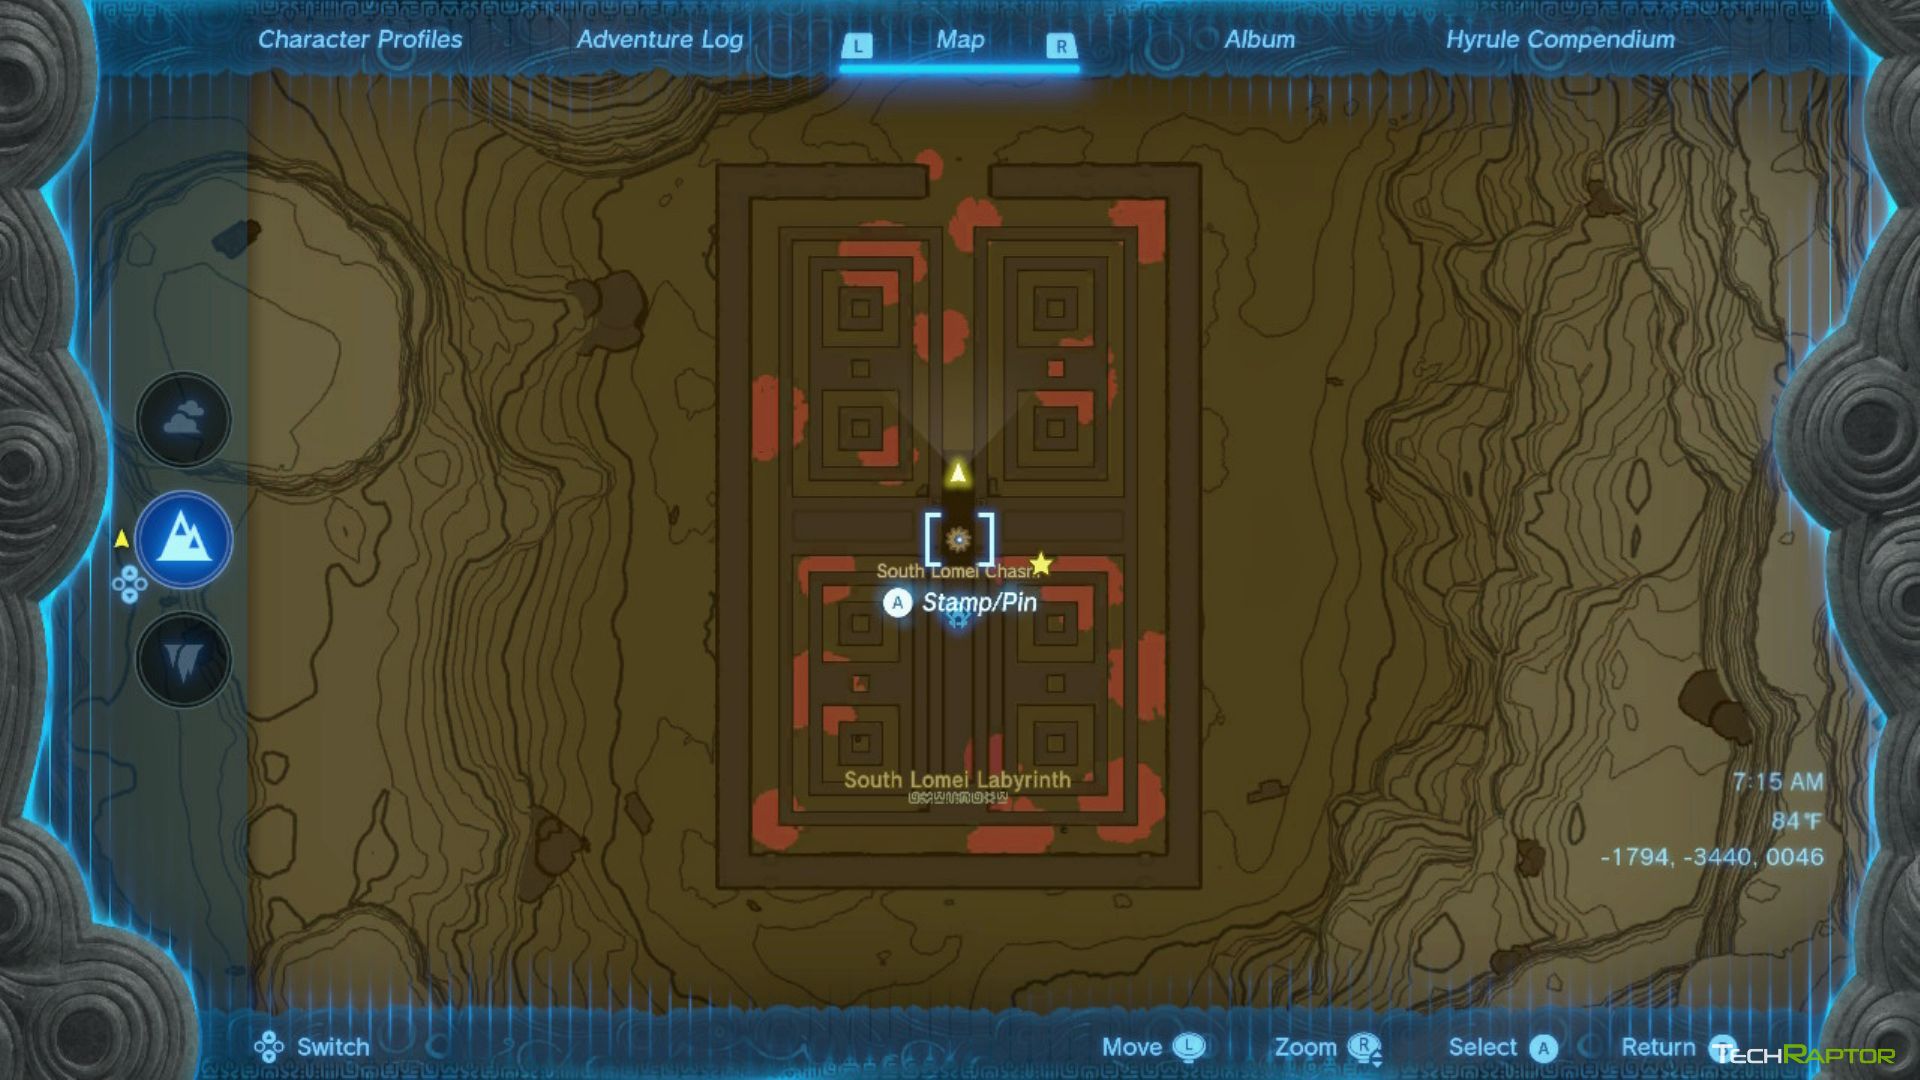
There isn’t any higher feeling in Tears of the Kingdom than seeing one thing fascinating on the map and beelining straight to it to take a look at what it’s. Should you’re close to the South West of the map, simply to the East of the Gerudo desert, you then might need noticed a maze-like construction and an eerily related construction within the sky above it. That is the South Lomei Labyrinth, a three-level puzzle that spans the land, sky, and even into the Depths that may reward you with some traditional armor. On this Tears of the Kingdom South Lomei Labyrinth Information we’ll clarify how one can full every part together with revealing the places of hidden terminals.
The reward that you just get hold of from finishing this Labyrinth is one a part of three. By touring to and finishing every of the three Labyrinths; South Lomei Labyrinth within the South West, Lomei Labyrinth Island within the North East, and North Lomei Labyrinth within the North West you’ll get hold of all three armor items providing you with a resting protection of 12 and an enormous enhance to your stealth talents.
The right way to get to South Lomei Labyrinth in Tears of the Kingdom?
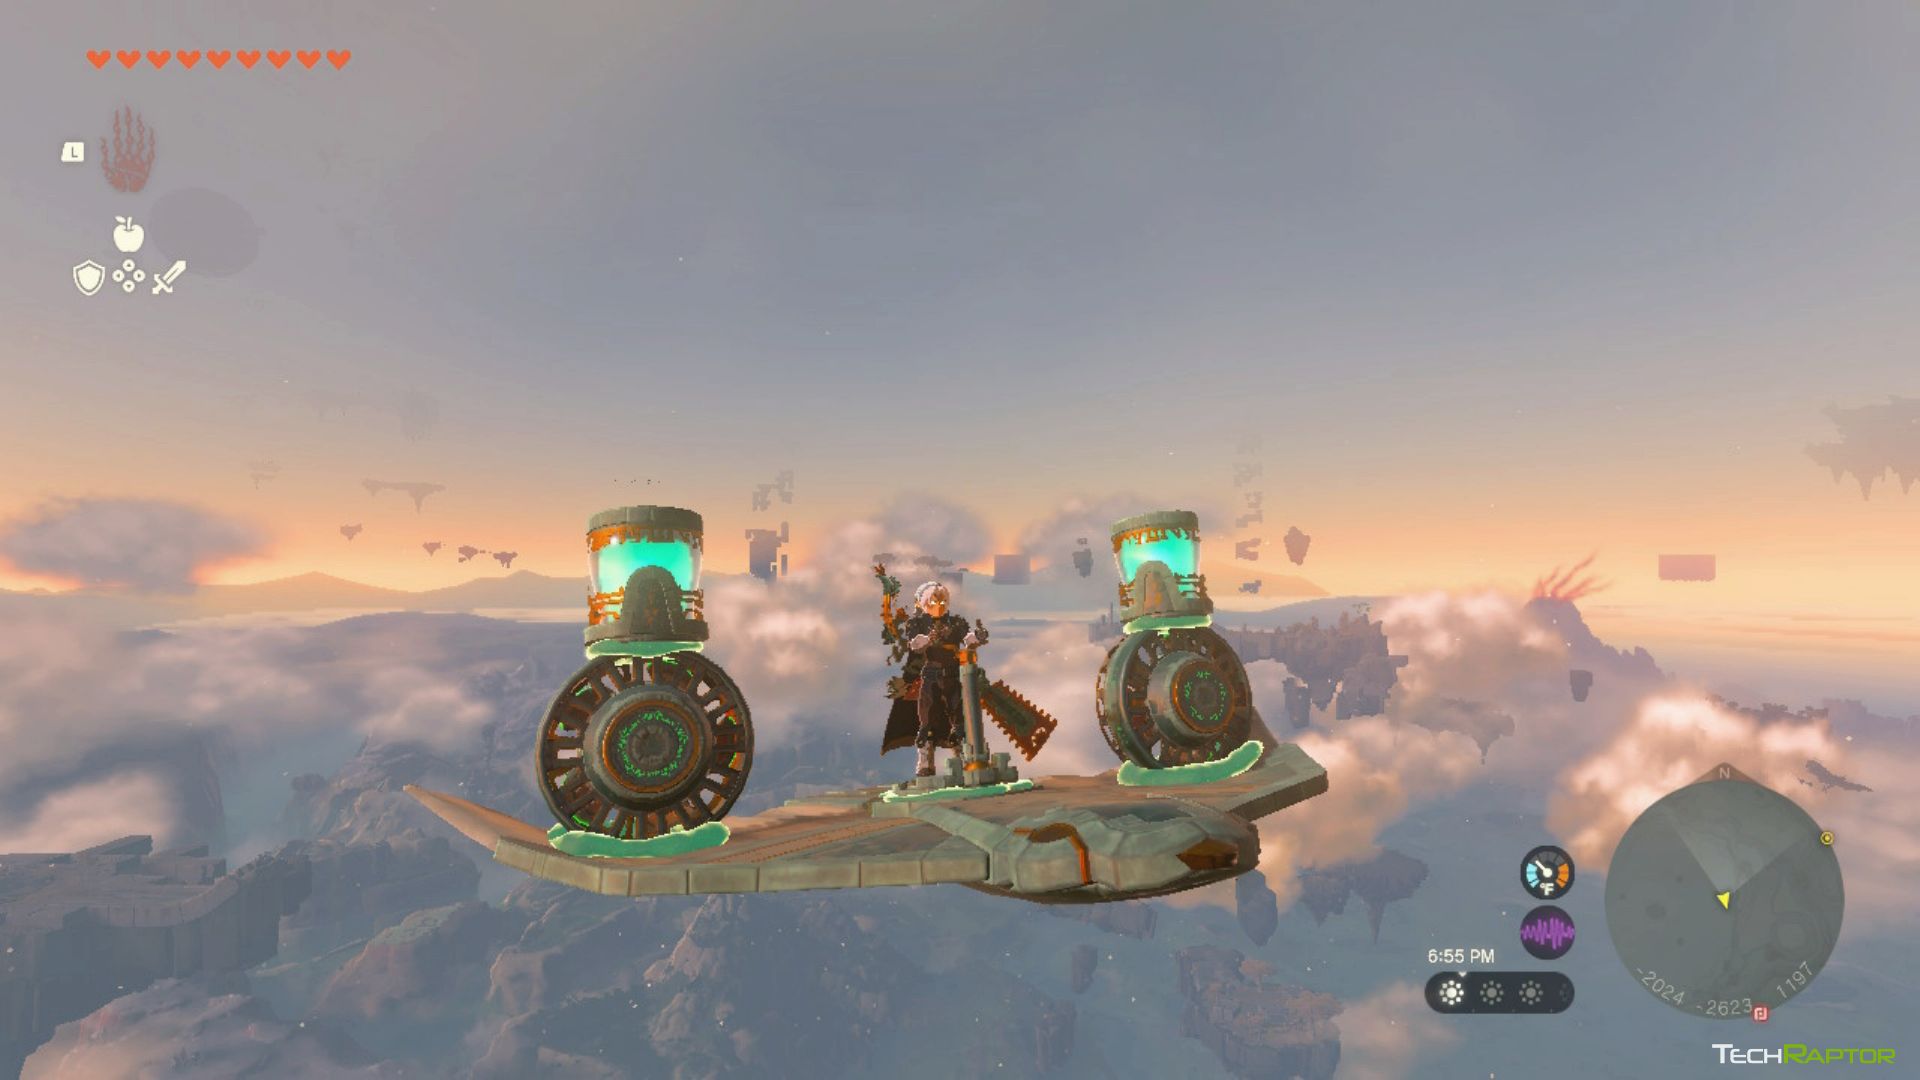
Should you’ve unlocked the South-West portion of the map then the quickest approach to attain the South Lomei Labyrinth is to launch your self from the Gerudo Canyon Skyview Tower. As an alternative of heading to the Labyrinth it’s best to first land on the sky island on to the South-East. You need to use this launching pad to create a Wing you could management, and fasten a couple of free rockets to it to not solely get your self to the South Lomei Labyrinth, however your essential aim might be to truly attain the portion of South Lomei Labyrinth within the sky first. When you attain the South Lomei Citadel Prime Ground you’ll be able to activate the shrine in entrance of the locked door for straightforward teleportation later. As soon as the shrine has been activated drop right down to the bottom portion of the Labyrinth.
Tears of the Kingdom South Lomei Labyrinth Answer
The Exhausting Manner
The primary a part of this quest has you touring by a labyrinth avoiding Gloom. On the doorway into the labyrinth, there is a be aware from a researcher who mentions that they plan to drop nuts and acorns as they make their means by the trail. The laborious approach to discover the South Lomei Labyrinth Answer is to only head into the labyrinth and comply with the path of things. I’d extremely advocate not selecting up any of these things as you undergo since you do not wish to lose your path and get misplaced alongside the way in which.
The Simple Manner
The simple approach to clear the labyrinth is to seek out someplace that you should use Ascend and rise to face on prime of the Labyrinth. From there you simply have to drop right down to the place there is a star on the beneath map and you’ll stroll proper into the ultimate room and activate the Dragon Ring and full a Shrine.
When you full the South Lomei Labyrinth you may obtain the next message:
For you who conquered this labyrinth of the land, I, the ruler of boars, have unlocked a door.
The door that the voice is referencing is the one you unlocked already on the South Lomei Citadel Prime Ground.
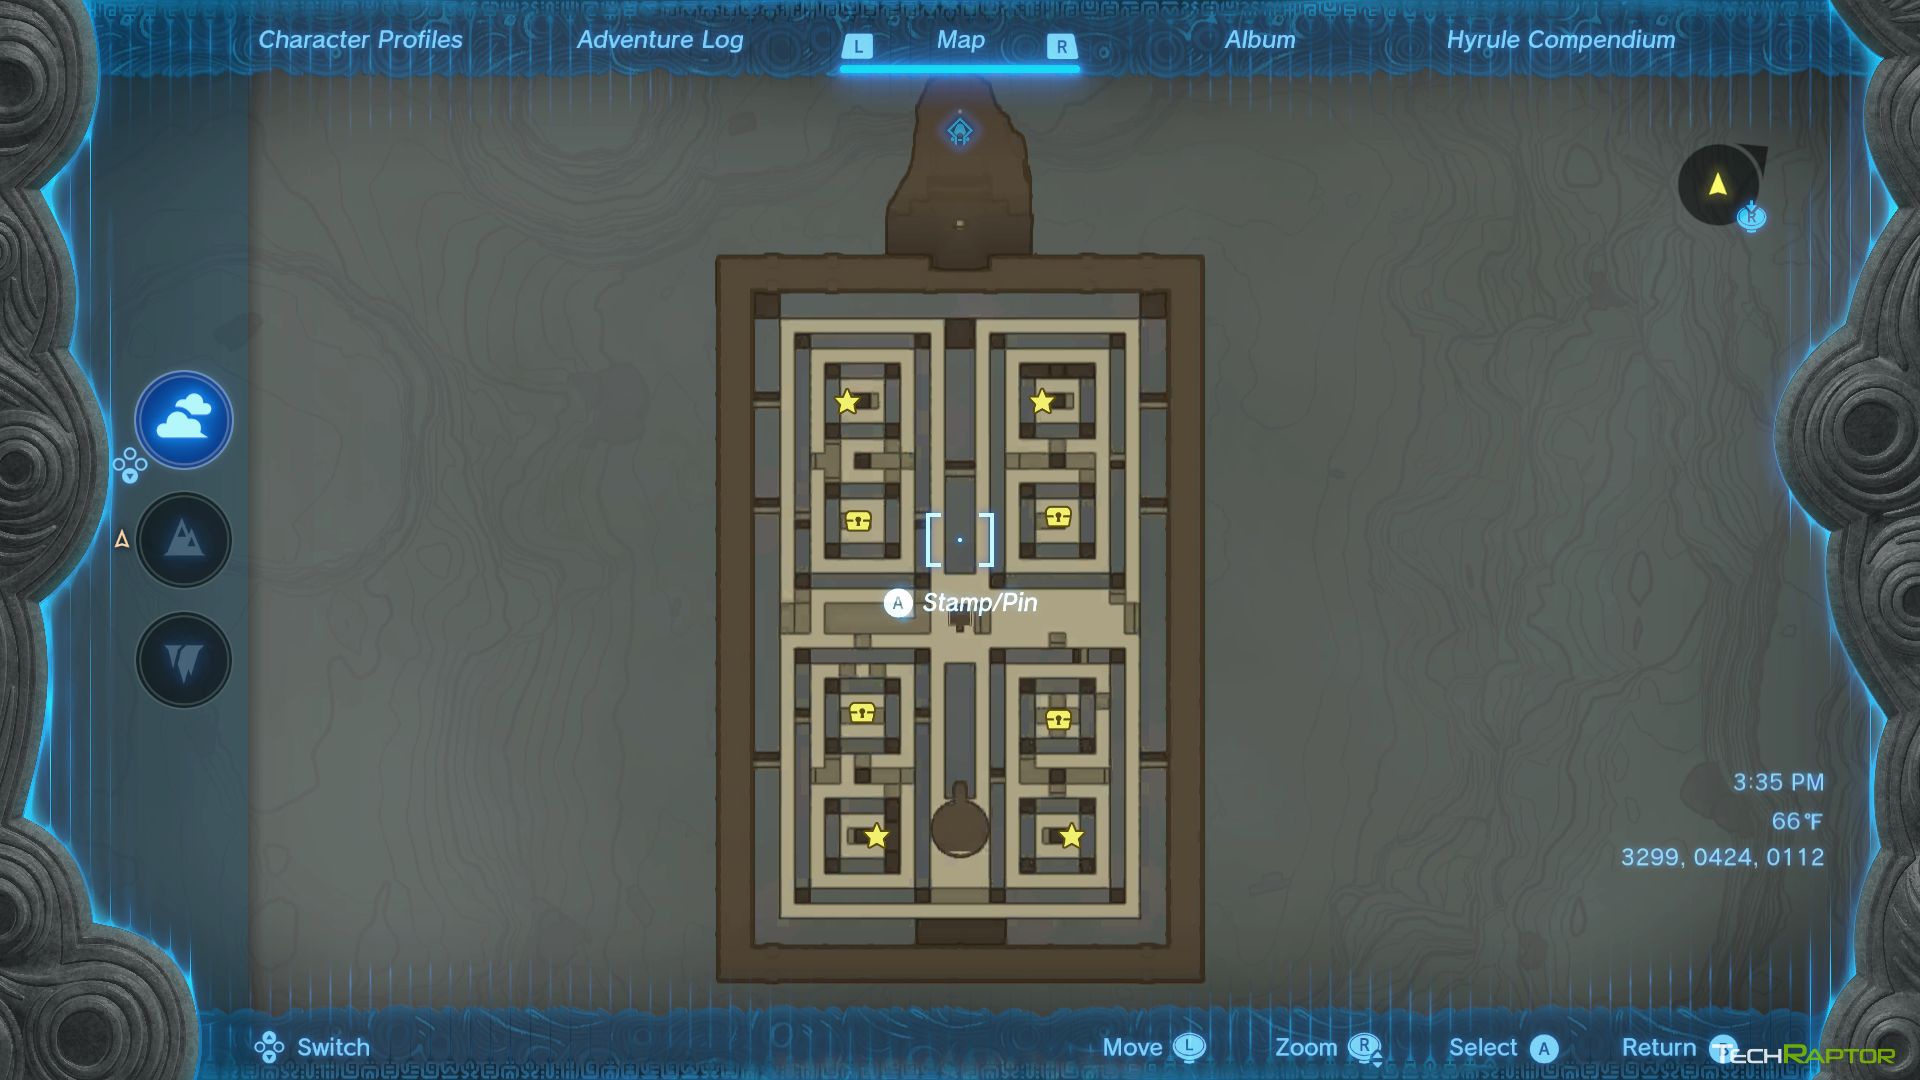
Tears of the Kingdom South Lomei Citadel Prime Ground Terminal Areas
The South Lomei Citadel Prime Ground is completely different because it’s tougher to get on prime of the Labyrinth. As an alternative, you may float by the labyrinth being cautious to look at your stamina so you do not fall again to land. Upon opening the door you may be told that there are 4 terminals positioned across the labyrinth. Use the map beneath to see the placement of every of the terminals marked with a Star icon.
As soon as you’ve got activated all 4 terminals a brand new Dragon Ring will activate on the roof of the South Lomei Citadel Prime Ground. Use your Paraglider to get to the highest instantly. After activating the Dragon Ring you may obtain the next message:
You who’ve traversed this maze, mark properly my phrases
I’ve pulled aside the bars within the labyrinth of the land that obstructed your path beneath floor
From excessive above, to far beneath… Show your braveness by diving into the depths of the earth.
The ultimate means shall open to you.
Use the leap platform to drop down all the way in which into the Depths for the ultimate a part of the South Lomei Labyrinth quest.
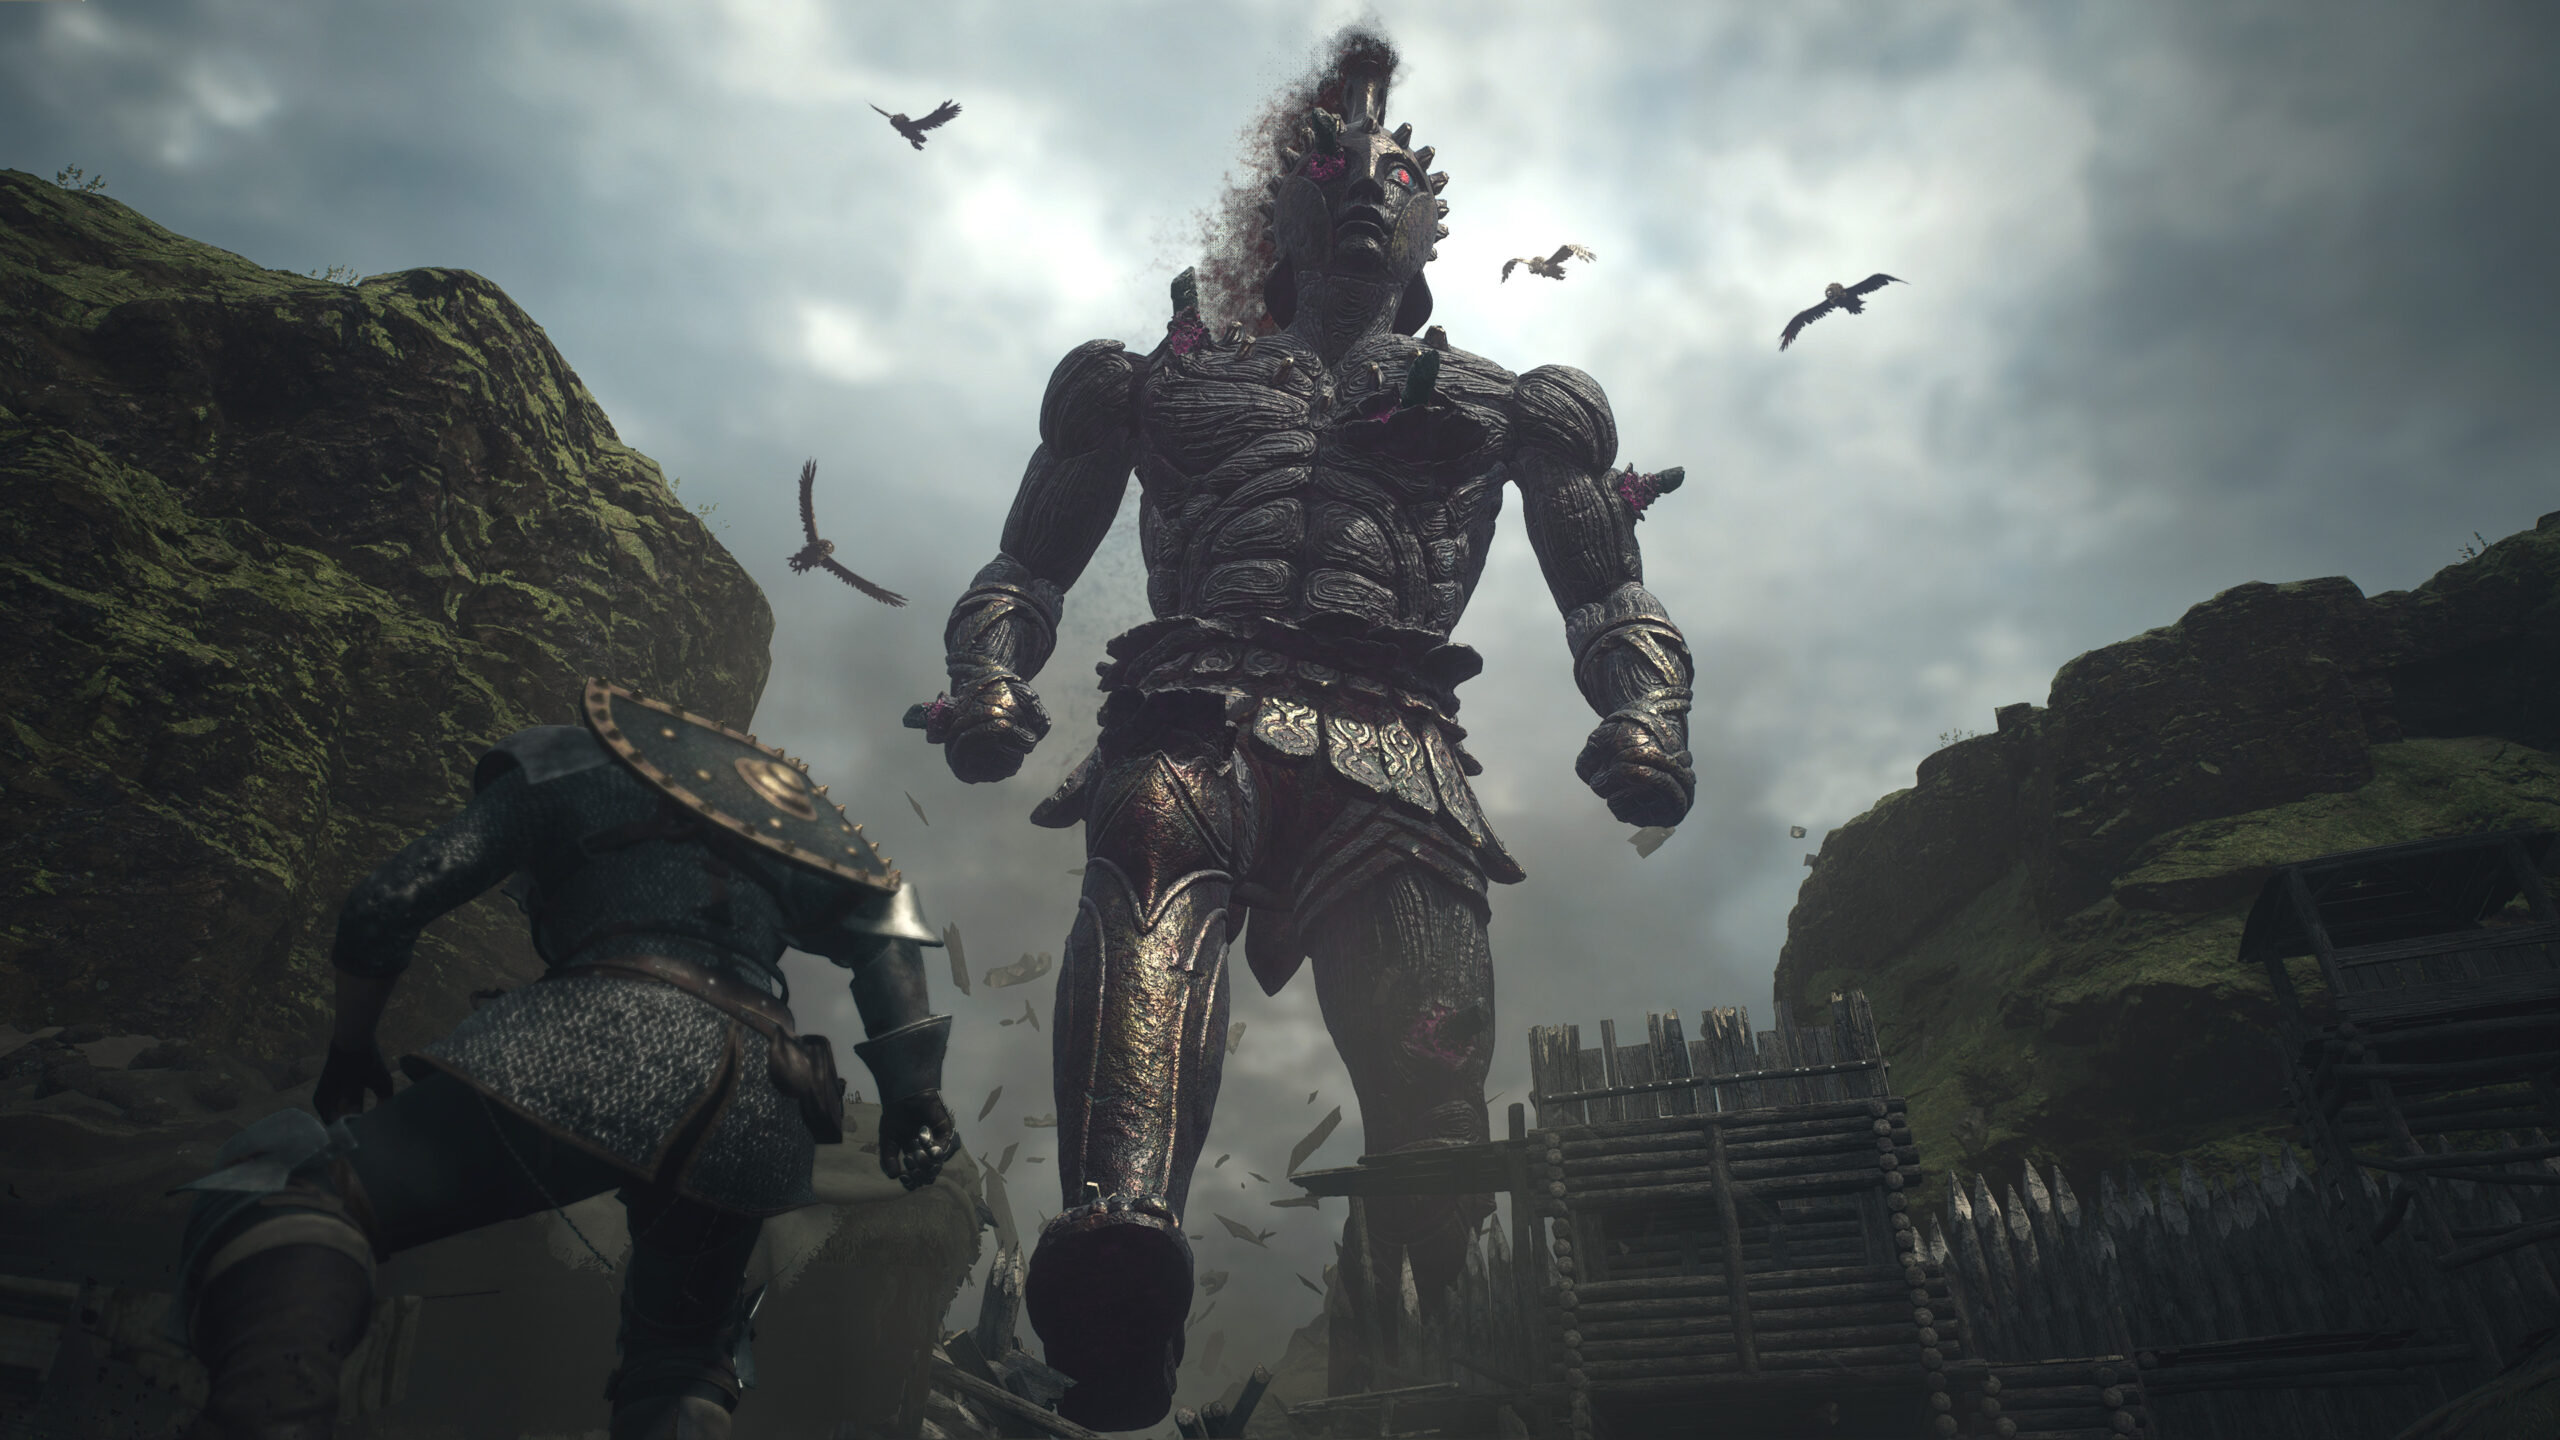
Tears of the Kingdom South Lomei Labyrinth Boss Battle and Reward
In The Depths comply with any of the small passageways to battle Flux Assemble III. To defeat this Flux Assemble you may have to find his major dice, that is the one which’s glowing, and separate it from the remainder of his physique. Once you do it should fall to items and you will get your probability to deal extended injury on the dice. Throughout the entire battle this dice might be swapping locations with different cubes, if it isn’t in an excellent location so that you can seize chances are high you’ll be able to wait a couple of seconds and you will get one other probability. This boss battle has three completely different kinds:
- Humanoid Type – On this kind, he’ll recreate himself in entrance of you and slam down for prime injury. Your purpose right here is to easily seize the Core Dice and pull it away from the physique.
- Dice Type – Right here the Flux Assemble will turn out to be a 3×3 dice and roll after you, he may also make bigger jumps in direction of you so be able to run and leap away at a second’s discover. Very similar to the Humanoid Type, your aim right here is to get his Core Dice and separate it from his physique
- UFO Type – The Flux Assemble will rise into the sky and turn out to be a flat platform. On this kind, his Core Dice might be hidden above and you will not be capable to attain any of his blocks. Wait till he throws 5 blocks at you. Stand on prime of 1 when it is on the bottom and use Recall to journey it again as much as his UFO physique. Hop on prime and begin wailing on his Core Dice
After defeating the Flux Assemble III the disembodied voice will attain out to you as soon as extra:
You who’ve traversed this labyrinth of the Depths…
This trial was a check of your skills. In overcoming it, you may have proven your self to be robust of physique, talent, and thoughts.
In my identify because the ruler of owls, I commend your achievement and provide a becoming reward.
Armor wreathed in otherworldly evil, hidden away since days of outdated… Take it now.
Strategy the chest that has now appeared in the midst of the room to acquire the Evil Spirit Masks. This head armor is modeled after Ganondorf’s look in The Legend of Zelda: Ocarina of Time. It presents 4 protection and as an added bonus presents up the Stealth Up means.


