Take a look at our information on how you can defeat Dragon Narag-Shazon In Return To Moria.
Narag-Shazon, the dragon of Khazad-dûm, is without doubt one of the most difficult boss fights in Return to Moria. Narag-Shazon is the final struggle that may assist you to conquer Moria. So gear as much as face the final word problem.
Among the many adversaries within the sport, none match the may of the Dragon Narag-Shazon. Whenever you uncover her Dragon’s Hoard, be sure you’re geared up together with your most interesting Weapons and Armor earlier than partaking in battle. Hold studying to uncover the techniques to defeat the ultimate boss in Return to Moria!
Getting ready for the Dragon Narag-Shazon Boss Struggle
To emerge victorious within the Narag-Shazon Boss Struggle, swift motion is vital. Encourage the dragon right into a nook, setting the stage for a not-so-epic battle – extra like a puzzle when you grasp the technique.
Preparation is important. Arm your self with the Mithril Spear, an distinctive weapon to inflict important harm upon Narag-Shazon. Buying Mithril is a prerequisite. Concerning Armor, crafting a strong set is advisable. The Durin’s Guard Armor or Mithril Armor can be optimum, but I efficiently accomplished the battle sporting the Belegost Armor.
Think about brewing some useful aids. Carrying Night Ale and Ironheart Stout will fortify your defenses, proving advantageous.
Make sure you’re geared up with the required assets:
These things are essential for repairing the 2 Map Stones through the struggle and developing Fast Platforms – necessitating not less than two stacks of Wooden Scraps. Supplementary assets for establishing a Camp and repairing tools could show helpful, though not necessary:
- 30 Charcoal
- 99 Steel Fragments
- 10+ Iron Ingot
- 30+ Material Scraps
Lastly, Rations are important for therapeutic. Count on important harm from attacking Orcs and Shadow. Narag-Shazon’s potent assaults and Shadow’s passive harm demand constant therapeutic, even in case you execute flawlessly.
Base Camp Close to The Area of The Shadow Orcs
Think about establishing a camp proper on the outskirts of The Area of the Shadow Orcs. Equip it with a Bedroll and a Map Stone. I strongly counsel developing a Restore Smithy as properly to make sure that you could mend your Armor when vital.
Regardless of being well-prepared, there is a honest chance that you simply may meet your demise not less than as soon as. The very last thing you need is to trek midway throughout Barazinbar to retrieve your stays and rejoin the battle!
Defeat Dragon Narag-Shazon Boss: The Final Return to Moria Information
When absolutely ready, the journey progresses in direction of coming into Narag Shazon’s Lair. To succeed in the Dragon’s Hoard, one should traverse by way of The Area of the Shadow Orcs, a path fraught with a number of Orc Camps providing the possibility to unveil Orkish Chests.
With Orkish Strongholds, count on a formidable boss encounter. It is extremely really helpful to clear the world of Orcs and dismantle their camps to make sure a clean retreat if the necessity arises through the confrontation with Narag-Shazon. The very last thing you’d need is to come across extra Orcs whereas retreating from the battle.

Properly of Shadow
After passing by way of The Area of the Shadow Orcs, you may attain the Properly of Shadow. This room, much like the place you have fought Orc WarChiefs, emits the purple smoke spreading by way of Moria. Your objective is to “Reseal the Wards,” however maintain off on that till after beating Narag-Shazon. Prepare to maneuver swiftly into the following room.
Relaxation Up Earlier than Continuing
After the Properly of Shadow, you may discover a small room with the primary of two broken Map Stones. This spot is ideal for organising a small Camp if you need a more in-depth respawn level for the boss struggle. Put up barricades to guard it; Orcs and Wargs will observe you into this room and trigger chaos if it is left unguarded!
Circle of Spikes
Within the subsequent room, you may come head to head with Narag-Shazon. She’s shielded by a hoop of spiked rocks, whereas the world round it’s swarming with Orcs and Wargs.
Though it would look like a boss enviornment, it is not. You’ll be able to’t destroy the spikes or breach the circle’s inside – and even in case you might, you would not wish to. Your primary goal is to circle the room’s perimeter and find a door blocked by a number of planks. You may want to interrupt by way of these planks utilizing a Weapon or Pickaxe.
When you’re on this room, Narag-Shazon will unleash bolts of Shadow vitality at you, which might hurt you, the Orcs, and the Wargs. Consider breaking by way of the barrier whereas evading Narag-Shazon’s assaults and defending in opposition to the Orcs and Wargs as successfully as attainable.
The Balrog’s Lair
After a difficult floor battle, Narag-Shazon takes flight and settles atop the towering cliffs encircling her lair. Your job is to ascend these heights in pursuit of the dragon. The trail ahead is not all the time apparent, with few pure footholds on the sheer cliff faces.
That is the place your Fast Platforms talent turns into essential. As you climb, strategically place these platforms to type a makeshift staircase, permitting you to beat the gaps and persist in your relentless pursuit
On the cliff’s summit, you may uncover the second broken Map Stone. Repair it, then proceed down the hallway in your final face-off with this formidable dragon.
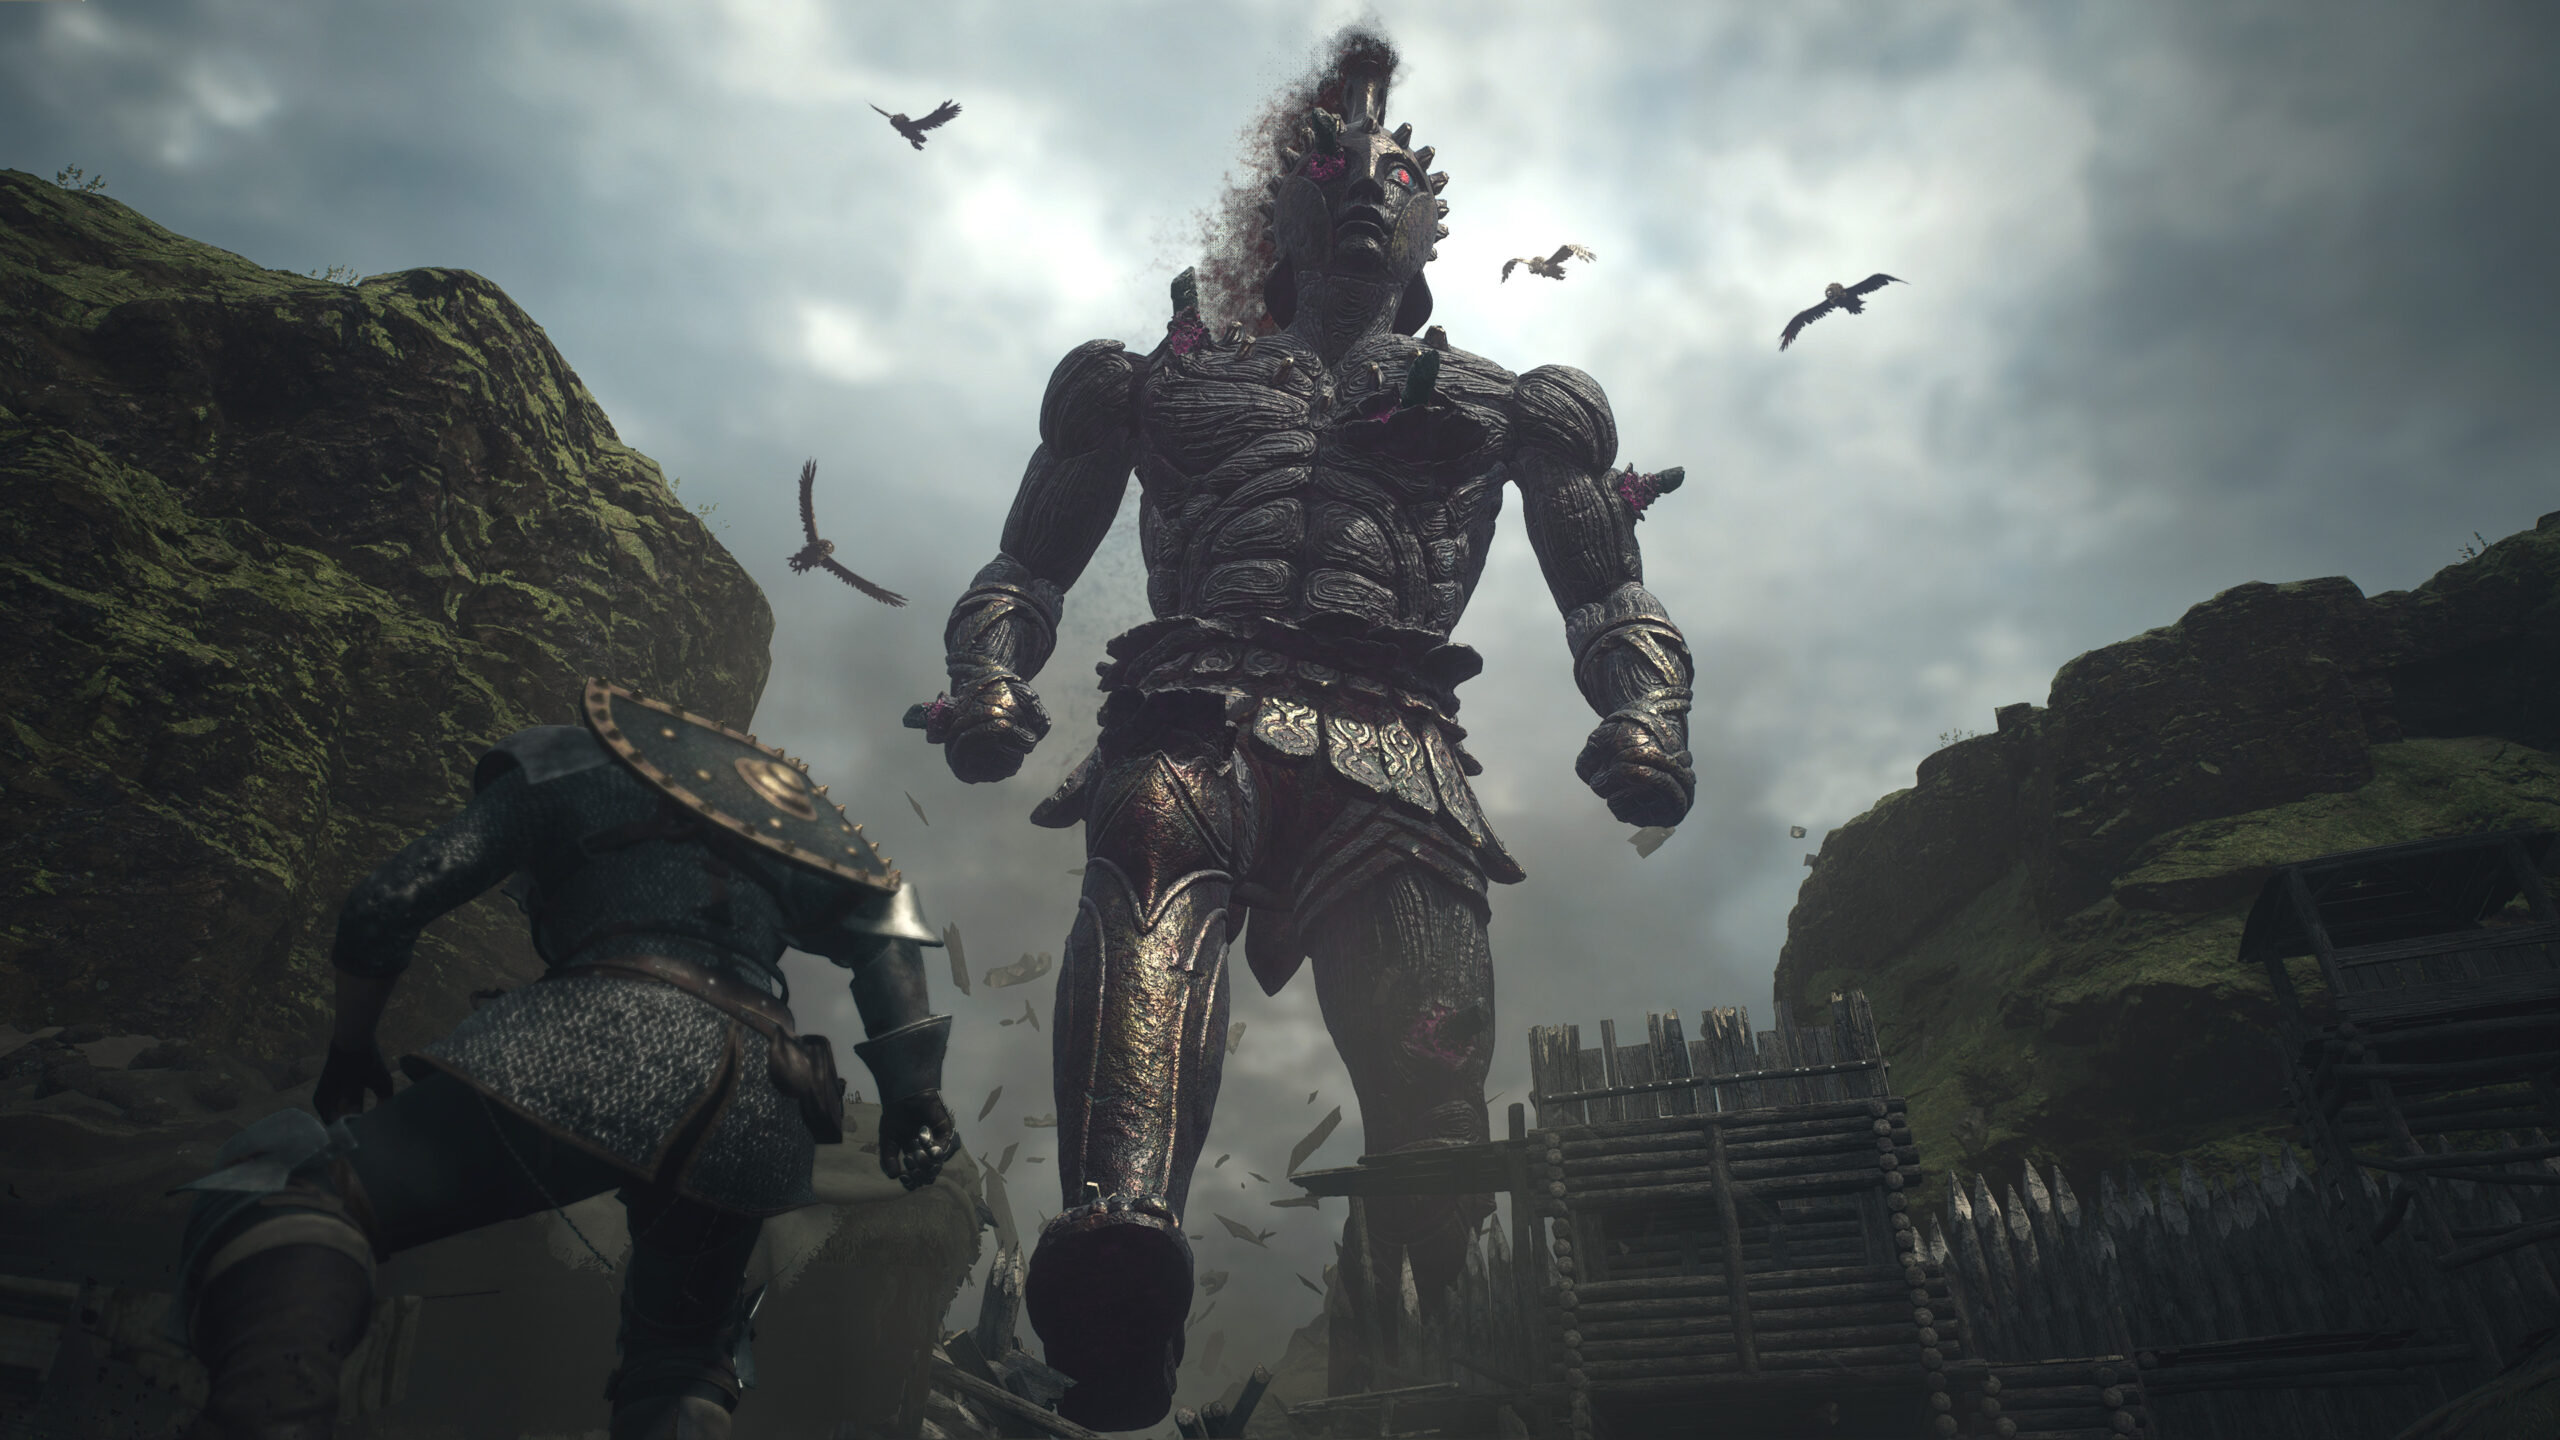
Dealing with Narag-Shazon
Upon coming into the ultimate chamber, Narag-Shazon stands earlier than you. The room, albeit small, confines you and the dragon in an intimate survival dance.
Resist the urge to launch a right away assault. As a substitute, be strategic, as victory hinges not on sheer power however on calculated maneuvers.
Observe the pillars encircling the chamber; they don’t seem to be simply ornament. They act as Narag-Shazon’s main goal. Amid dodging her fiery breath and sharp claws, place your self behind these pillars, utilizing them as shields in opposition to her assaults.
Narag-Shazon’s Shadow Breath, holds a weak point. Aimed on the pillars, it regularly erodes their construction till they crumble. Because the pillars succumb a skylight regularly opens, letting daylight in, blinding Narag-Shazon and rendering her susceptible.
Find a small rock inside the chamber and use it as a platform. With swift precision, drive the Mithril Spear into Narag-Shazon’s blinded face. This surprising strike staggers the dragon, disrupting her focus. Seize the chance to unleash a collection of assaults, maximizing harm on this fleeting opening.
Keep in mind, the battle is not solely about energy; it is a check of technique and precision. Maneuver across the crumbling pillars, ready for the opportune second to strike. With crafty and dedication, victory on this epic encounter is inside attain.
Reclaiming Moria!
Upon defeating Narag-Shazon, you may achieve entry to the Adamant Hammer. It is a essential Instrument vital for repairing the Bridge of Khazad-dum and exiting Moria through its japanese gates. Head again to your base to craft it.
The Adamant Hammer can be utilized to revive the statue of Durin within the Properly of Shadow. This may revive the magical protections, placing an finish to Morgoth’s malevolent energies and eradicating the specter of darkness in Moria completely.
As soon as the statue is restored, return to the Japanese Bastion in Dwarrowdelf. Make the most of Durin’s Axe to interrupt the sealed door and entry the open pathway, marking the top of your journey by way of Moria as you exit and conclude the sport.


